Introduction
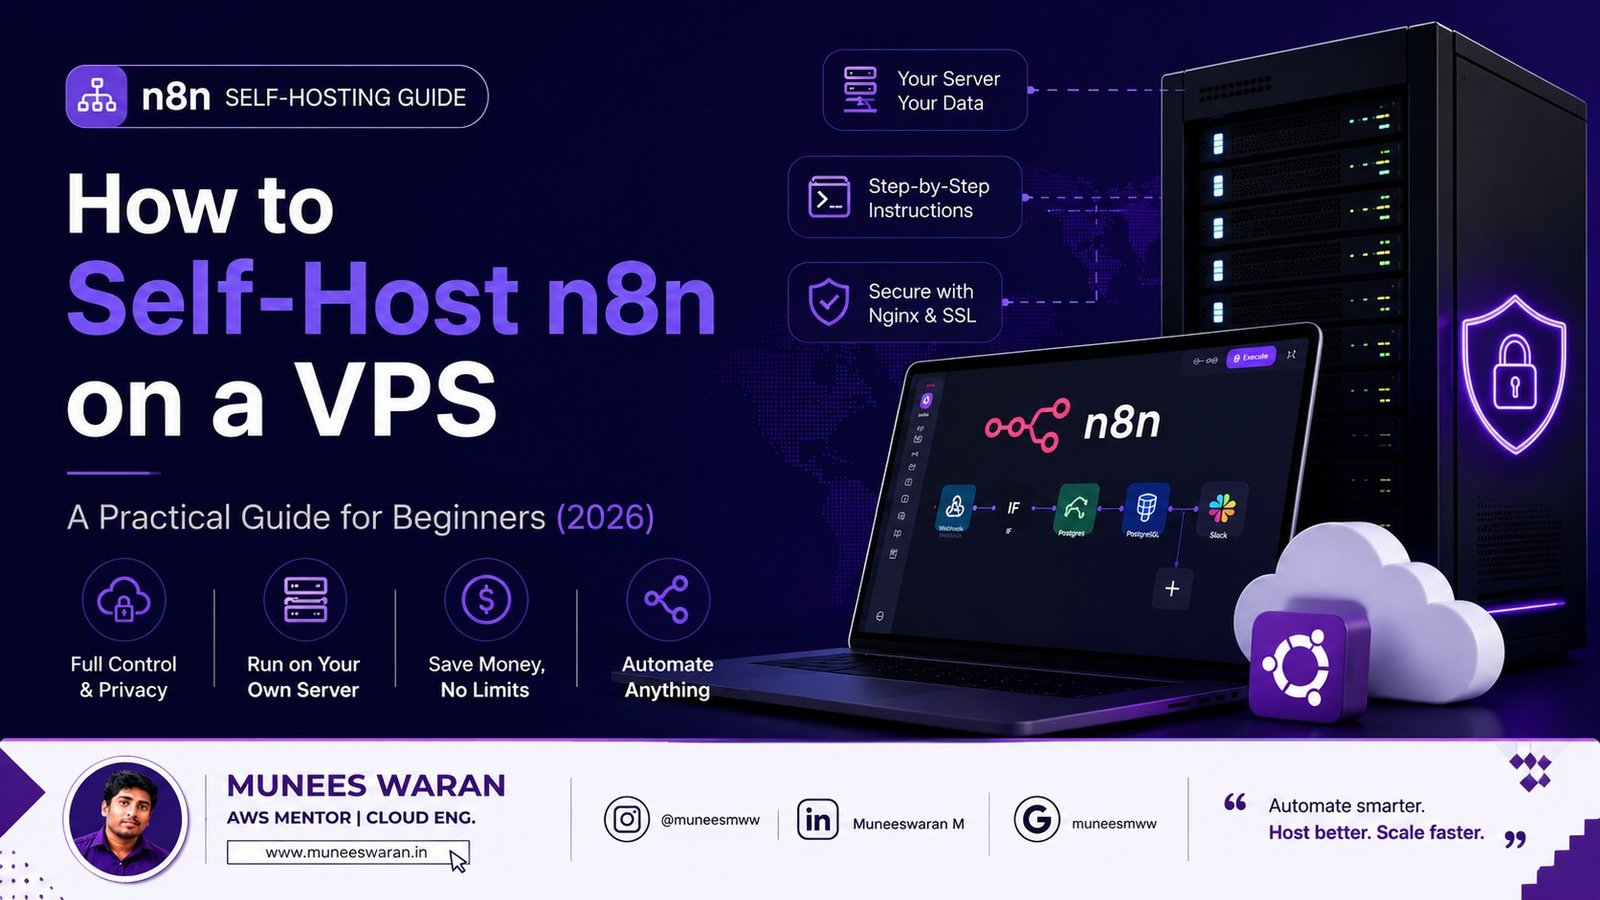
If you've been exploring workflow automation tools, chances are you've come across n8n — an open-source platform that lets you connect apps, automate repetitive tasks, and build powerful workflows without writing much code.
Most tutorials will tell you to just use the n8n cloud plan. But here's the thing: if you're serious about automation, running n8n on your own VPS gives you something the cloud plan simply can't — complete control.
This guide walks you through everything from scratch. Even if you've never touched a server before, you'll have a fully running n8n instance by the time you finish.
Why Run n8n on Your Own Server?
When you host n8n yourself, you're not at the mercy of subscription tiers or execution limits. Your workflows run when you tell them to, your data stays where you want it, and your monthly costs are capped at whatever you pay for the server — usually between $5 and $12.
For freelancers, small businesses, and automation enthusiasts, that's a compelling deal.
What You'll Need Before Starting
- A VPS running Ubuntu 22.04 — 2 GB RAM and a single CPU core is enough to get started.
- A registered domain name — e.g., automation.yourdomain.com
- SSH credentials — your server's IP address and root password.
- A terminal — macOS/Linux built-in terminal, or PowerShell on Windows.
Part 1: Getting Into Your Server
Open your terminal and connect to your VPS:
ssh root@YOUR_SERVER_IPReplace YOUR_SERVER_IP with your actual IP address. Enter your password when prompted.
Part 2: Preparing the Server
Run this to update all packages:
apt update && apt upgrade -yPart 3: Installing Docker
n8n runs inside a Docker container. Install Docker with:
apt install docker.io -yStart Docker and enable it on boot:
systemctl start docker systemctl enable dockerVerify the installation:
docker --versionPart 4: Adding Docker Compose
apt install docker-compose -yVerify:
docker-compose --versionPart 5: Setting Up the n8n Directory
mkdir n8n && cd n8nPart 6: Writing the Docker Compose Configuration
Create a new configuration file:
nano docker-compose.ymlPaste the following (replace yourdomain.com with your actual domain):
version: '3' services: n8n: image: n8nio/n8n restart: always ports: - "5678:5678" environment: - N8N_HOST=yourdomain.com - WEBHOOK_URL=https://yourdomain.com/ - GENERIC_TIMEZONE=Asia/Kolkata volumes: - ./n8n_data:/home/node/.n8nTimezone note: Asia/Kolkata is set as default. Update to your region if needed (e.g., America/New_York, Europe/London).
Save and exit: Ctrl + X, then Y, then Enter.
Part 7: Launching n8n
docker-compose up -dConfirm it's running:
docker psYou should see a container named n8n_n8n_1 with status Up.
Part 8: Pointing Your Domain to the Server
Log into your domain registrar and create a DNS A record:
| Field | Value |
|---|---|
| Type | A |
| Host | @ or n8n |
| Value | Your VPS IP Address |
| TTL | Auto or 3600 |
DNS propagation can take a few minutes to a few hours. Check progress at whatsmydns.net.
Part 9: Installing Nginx as a Reverse Proxy
apt install nginx -y systemctl start nginx systemctl enable nginxPart 10: Configuring Nginx for n8n
nano /etc/nginx/sites-available/n8nPaste this configuration:
server { server_name yourdomain.com; location / { proxy_pass http://localhost:5678; proxy_http_version 1.1; proxy_set_header Upgrade $http_upgrade; proxy_set_header Connection 'upgrade'; proxy_set_header Host $host; proxy_cache_bypass $http_upgrade; } }Activate the configuration:
ln -s /etc/nginx/sites-available/n8n /etc/nginx/sites-enabled/ nginx -t systemctl restart nginxPart 11: Enabling HTTPS with a Free SSL Certificate
apt install certbot python3-certbot-nginx -y certbot --nginx -d yourdomain.comFollow the on-screen prompts. Certbot will automatically configure SSL and set up auto-renewal.
Part 12: Accessing Your n8n Dashboard
Open your browser and visit:
https://yourdomain.comYou'll see the n8n setup screen. Create your admin account and you're in!
Securing Your Installation
Add a Login Password
Inside docker-compose.yml, add these lines under environment:
- N8N_BASIC_AUTH_ACTIVE=true - N8N_BASIC_AUTH_USER=your_username - N8N_BASIC_AUTH_PASSWORD=your_strong_passwordRestart n8n:
docker-compose down && docker-compose up -dSet Up a Firewall
apt install ufw -y ufw allow OpenSSH ufw allow 'Nginx Full' ufw enableFixing Common Problems
Port 5678 already in use
sudo lsof -i :5678Then kill the listed process ID.
Docker container keeps restarting
docker logs n8n_n8n_1Domain not loading
Verify your DNS A record and wait for propagation. Test with ping yourdomain.com.
SSL certificate failed
Certbot requires DNS to be fully propagated before running. Double-check your A record first.
Choosing a VPS Provider
- Hostinger — Most affordable, beginner-friendly control panel.
- DigitalOcean — Excellent docs, clean interface. Droplets start at $6/month.
- Vultr — Fast SSD storage, competitive pricing.
- Linode (Akamai Cloud) — Reliable uptime and global infrastructure.
Is Self-Hosting n8n Right for You?
Self-hosting makes the most sense if:
- You're running multiple workflows and want to avoid per-execution pricing.
- You handle sensitive data and prefer it to stay on your own infrastructure.
- You're a developer or agency building automation services for others.
- You want to experiment freely without usage limits.
Wrapping Up
Setting up n8n on a VPS is more linear than it looks. Here's the full flow:
- Connect to your server via SSH
- Install Docker and Docker Compose
- Configure n8n with a Compose file
- Point your domain to the server
- Set up Nginx as a reverse proxy
- Add SSL for secure HTTPS access
- Lock everything down with auth and a firewall
Once it's running, you have a permanent, private automation server working around the clock — completely under your control.
Frequently Asked Questions
Do I need to know how to code?
No. The entire process involves copy-pasting terminal commands. No programming knowledge required.
Is Docker mandatory for n8n?
It's the most reliable and beginner-friendly method. You can use npm, but Docker keeps things cleaner and easier to update.
How much does it cost to self-host n8n?
n8n is free and open-source. You only pay for the VPS — typically $5–$12/month.
How much RAM does n8n need?
2 GB is sufficient for light to moderate use. Upgrade to 4 GB for heavy or complex workflows.
Can I connect a custom domain?
Yes — this guide covers exactly that using DNS records and Nginx.
Is it safe to self-host?
Yes, as long as you enable authentication, use HTTPS, and configure a firewall — all covered in this guide.
Can n8n handle AI-powered workflows?
Absolutely. n8n has native integrations with OpenAI, Anthropic, Hugging Face, and other AI platforms.
What happens if the server restarts?
Docker Compose is configured with restart: always, so n8n automatically comes back online after any reboot.
Written by Munees - Tech Advisor
A tech enthusiast and developer sharing insights and tutorials on the latest industry trends.
Read Next
More articles you might enjoy
frontend.comments (0)
Leave A Comment